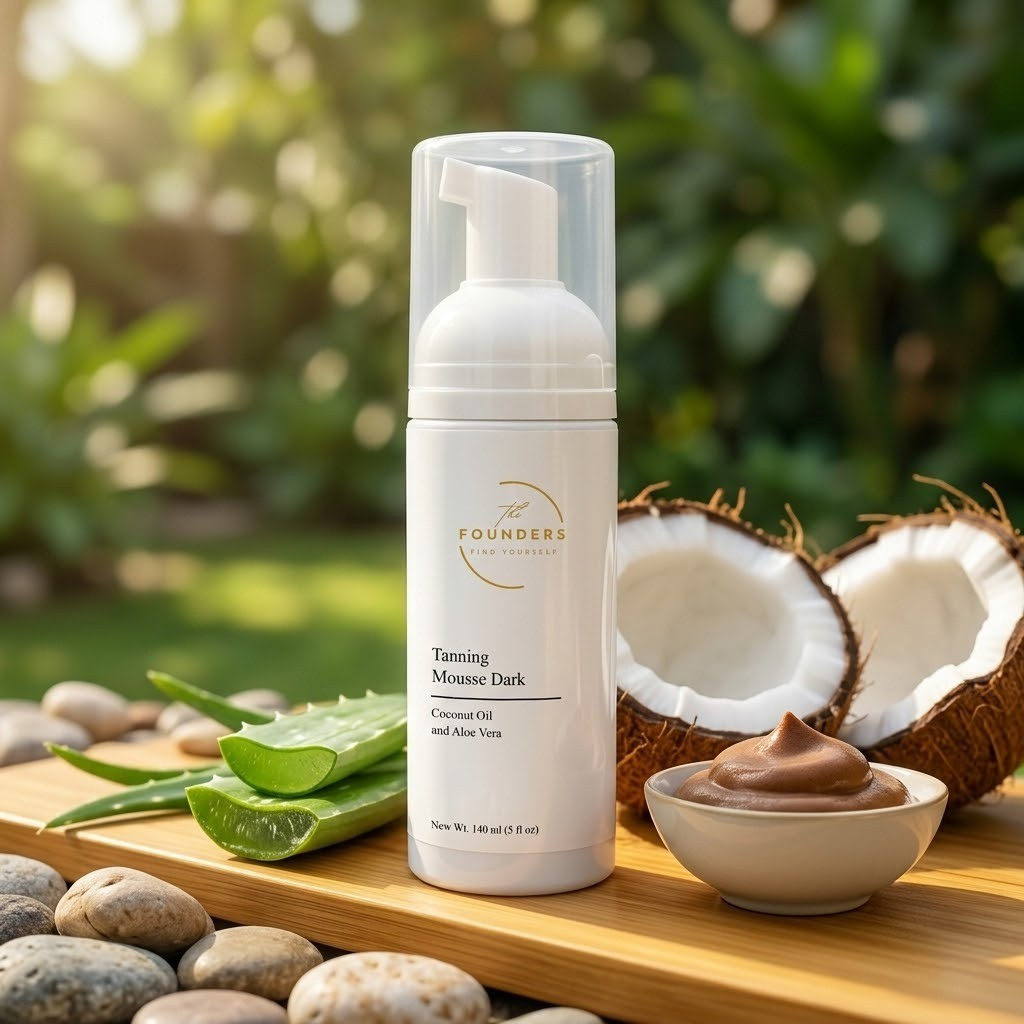
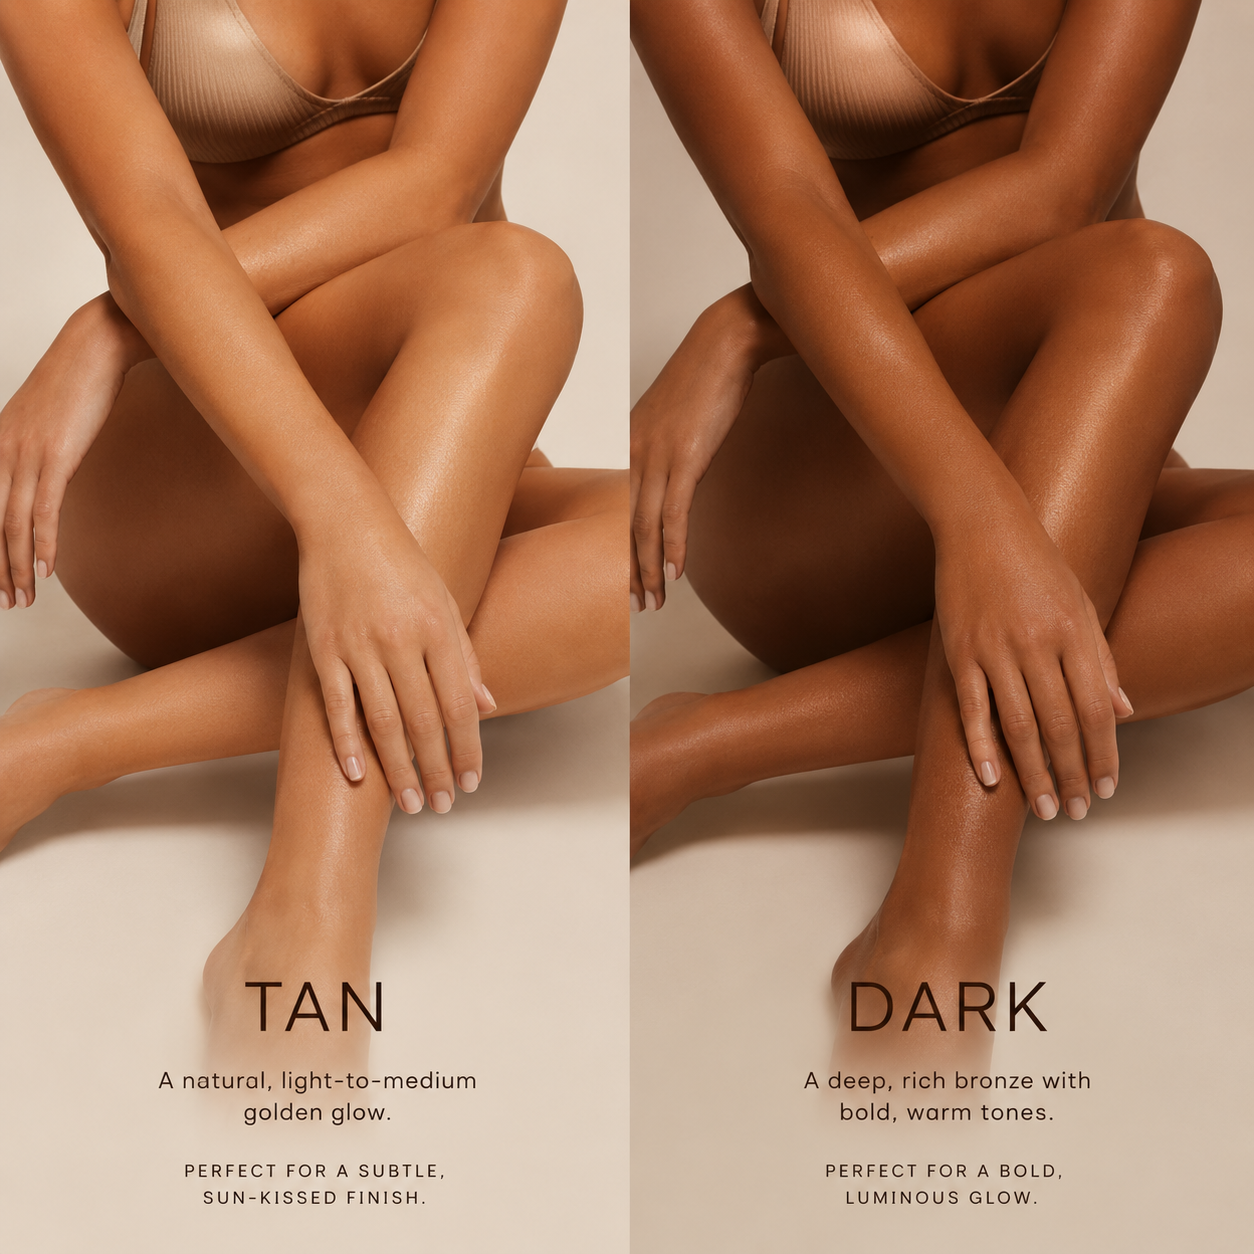
How to Apply Founders Self Tanning Mousse for a Smooth, Natural-Looking Glow

Achieving a beautiful bronze glow doesn't have to involve spending hours in the sun. Modern self tanning mousses make it possible to enjoy a natural-looking tan from the comfort of your home. The key isn't just choosing a quality product—it's also applying it correctly.
This guide explains how to get the most even-looking results while avoiding the most common self-tanning mistakes.
Why Choose a Self Tanning Mousse?
Self tanning mousses have become one of the most popular sunless tanning products because they offer several advantages over traditional lotions.
Many users prefer mousse formulas because they are:
- Lightweight and easy to spread.
- Fast and comfortable to apply.
- Suitable for full-body application.
- Easy to blend with a tanning mitt.
- Ideal for building a natural-looking bronze color.
Step 1: Prepare Your Skin
Preparation is one of the most important parts of the tanning process.
Before applying your self tanning mousse:
- Exfoliate your body to remove dead skin cells.
- Pay extra attention to elbows, knees, ankles, and heels.
- Make sure your skin is clean and completely dry.
- Avoid applying perfume or heavy body oils immediately before tanning.
A smooth skin surface helps create a more even finish.
Step 2: Moisturize Dry Areas
Dry skin absorbs more tanning product than other parts of the body.
Apply a small amount of moisturizer to:
- Elbows
- Knees
- Ankles
- Hands
- Feet
This simple step helps reduce the chance of darker patches in these areas.
Step 3: Apply with a Tanning Mitt
A tanning mitt helps distribute the mousse evenly while reducing product buildup on your hands.
Pump a small amount of mousse onto the mitt and use circular motions to apply it across your body.
Work section by section rather than applying the entire product at once.
Step 4: Blend Carefully
Take extra time around:
- Wrists
- Ankles
- Fingers
- Toes
- Neck
- Hairline
Blending these areas carefully creates a more seamless transition between skin tones.
Step 5: Allow the Product to Develop
After application:
- Avoid water until the recommended development time has passed.
- Wear loose-fitting clothing.
- Avoid excessive sweating during the development period.
Following the product instructions helps achieve the intended result.
Common Self-Tanning Mistakes
Even experienced users sometimes make small mistakes that affect the final appearance.
The most common include:
Applying Too Much Product
More product doesn't necessarily produce a better-looking tan. Even application is usually more important than quantity.
Skipping Exfoliation
Old skin cells can cause uneven color development.
Forgetting Hands and Feet
These areas require less product than the rest of the body. Applying too much can make the color appear unnatural.
Not Blending Properly
Taking a few extra minutes to blend joints and edges often makes a noticeable difference.
Maintaining Your Tan
Once your tan has developed, proper skincare can help keep it looking fresh.
Helpful habits include:
- Moisturizing every day.
- Avoiding harsh exfoliants.
- Patting your skin dry after showering.
- Staying hydrated.
- Reapplying the product whenever you want to refresh your glow.
Why Many People Choose Founders Tanning Mousse
A good tanning product should make the application process simple while helping users achieve an even-looking finish.
Founders Tanning Mousse is designed for those who want a lightweight mousse that's easy to apply and suitable for creating a natural bronze appearance as part of their beauty routine.
Learn more about the product here:
https://founders-shop.com/products/tanning-mousse-tan
Final Thoughts
Applying self tanning mousse isn't complicated, but good preparation and careful application can make a significant difference. By exfoliating beforehand, moisturizing dry areas, applying evenly with a tanning mitt, and following the recommended development time, you can achieve a smooth, natural-looking bronze glow without relying on prolonged sun exposure.
Whether you're preparing for a vacation, a special event, or simply want a healthy-looking glow throughout the year, using the right technique is just as important as choosing the right product.