Self-Tan Preparation and Aftercare: How to Get a Smooth, Longer-Lasting Glow
Share
A beautiful self-tan does not begin when the mousse touches your skin. It begins with preparation—and it lasts longer when your aftercare routine is just as intentional.
If you have ever dealt with uneven color, darker elbows, patchy knees or a tan that faded too quickly, the problem may not have been the product alone. Skin preparation and daily care can make a major difference in how smoothly self-tanner applies, develops and fades.
This guide explains how to prepare for self-tan, what to do immediately after application and how to maintain a natural-looking glow for as long as possible.
Why self-tan preparation matters
Self-tanning ingredients develop color on the outermost layer of the skin. When that surface is dry, rough or uneven, the result can look darker in some areas and lighter in others.
Proper preparation helps create a more even surface so your self-tanning mousse can spread smoothly. It also reduces the chance of excess product collecting around elbows, knees, ankles, wrists and other naturally dry areas.
What to do 24 hours before self-tanning
1. Exfoliate your skin
Exfoliate the areas you plan to tan, ideally around 24 hours before application. Focus on rough or dry areas, including:
- Elbows
- Knees
- Ankles
- Heels
- Wrists
- Knuckles
Use gentle, even pressure. Over-exfoliating can leave skin irritated, which may make application less comfortable and the result less predictable.
2. Shave or wax in advance
If shaving or waxing is part of your routine, do it before tanning rather than immediately afterward. Giving the skin time to settle can help reduce sensitivity and prevents freshly opened pores from affecting the finish.
3. Avoid heavy oils
Body oils and rich, occlusive products can create a barrier that prevents self-tanner from spreading or developing evenly. Keep the skin clean and balanced before application.
How to prepare your skin on application day
Start with clean, completely dry skin
Before applying self-tanning mousse, make sure your skin is free from deodorant, perfume, body oil, makeup and heavy moisturizer. Any residue can interfere with even application.
Moisturize only the driest areas
Apply a small amount of lightweight moisturizer to elbows, knees, ankles, heels, wrists and knuckles. These areas absorb product more quickly, so a thin layer of moisturizer helps soften the result.
Avoid moisturizing the entire body immediately before tanning unless the product instructions specifically recommend it.
Choose the right shade
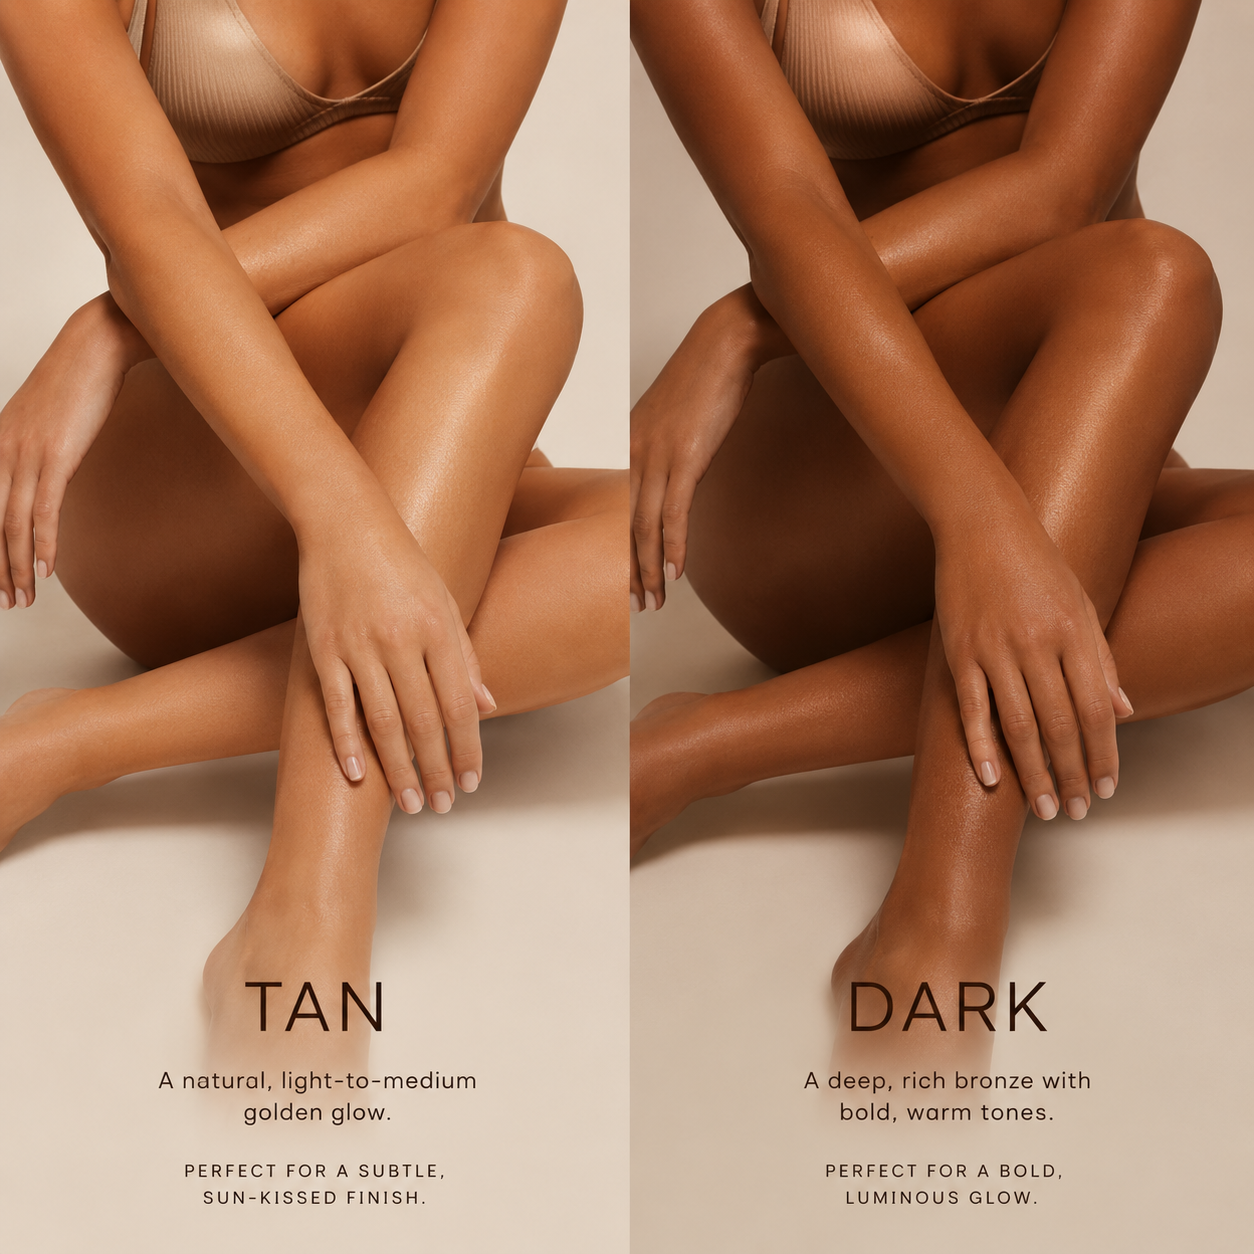
Choose Tan for a subtle, light-to-medium golden glow. Choose Dark for a deeper, more noticeable bronze result.
If you are new to self-tanning or prefer a softer result, begin with Tan. You can build depth later with another application.
How to apply self-tanning mousse evenly
For the most controlled application, use a tanning mitt. Pump a small amount of mousse onto the mitt and apply it using broad circular motions.
Work in sections:
- Start with the legs.
- Move to the torso.
- Apply to the arms.
- Use the remaining product lightly on hands and feet.
Do not overload dry areas. The leftover product on the mitt is usually enough for hands, feet, elbows and knees.
Blend carefully around the wrists, ankles and hairline so there is no obvious stopping point.
What to do while your tan develops
Allow the tan to develop for 4–8 hours before rinsing, depending on your preferred depth and the product instructions.
During development:
- Allow the mousse to dry before getting dressed.
- Wear loose, dark clothing.
- Avoid water, sweating and tight garments.
- Do not apply additional skincare products over the tan.
Some transfer may occur before the first rinse, so dark clothing and bedding are the safest choice during development.
How to rinse your self-tan
At the end of the development period, rinse with lukewarm water. Avoid aggressive scrubbing. The initial guide color may wash away while the developed tan remains on the skin.
Pat the skin dry with a towel instead of rubbing.
Self-tan aftercare: how to make your glow last longer
Moisturize every day
Hydrated skin tends to fade more gradually. Apply body moisturizer daily, especially after showering. Pay extra attention to naturally dry areas.
Use gentle showers
Very hot water, long baths and harsh cleansers can speed up fading. Choose shorter, lukewarm showers and gentle body-care products.
Avoid unnecessary exfoliation
Once your tan has developed, pause exfoliating until you are ready to remove or refresh it. Scrubs, exfoliating gloves and strong acids can fade the color unevenly.
Pat, do not rub
After showering, pat your skin dry. Repeated friction from towels can make the tan fade faster in certain areas.
Be mindful of chlorine and salt water
Swimming can shorten the life of a self-tan. Rinse afterward and moisturize once the skin is dry.
When should you reapply self-tanner?
Reapply when your color has faded evenly and you want to restore or deepen the glow. Avoid layering fresh mousse over noticeably patchy or peeling areas. Instead, gently remove the remaining tan, moisturize and begin again on a smooth surface.
Common self-tan mistakes to avoid
- Applying to oily or damp skin
- Skipping exfoliation
- Using too much product on hands and feet
- Applying immediately after shaving
- Wearing tight clothing during development
- Scrubbing the skin during the first rinse
- Neglecting daily moisturizer afterward
A smoother glow starts before application
The best self-tan routine is simple: prepare carefully, apply lightly and maintain consistently. These steps help your color look more even, feel more natural and fade more gradually.
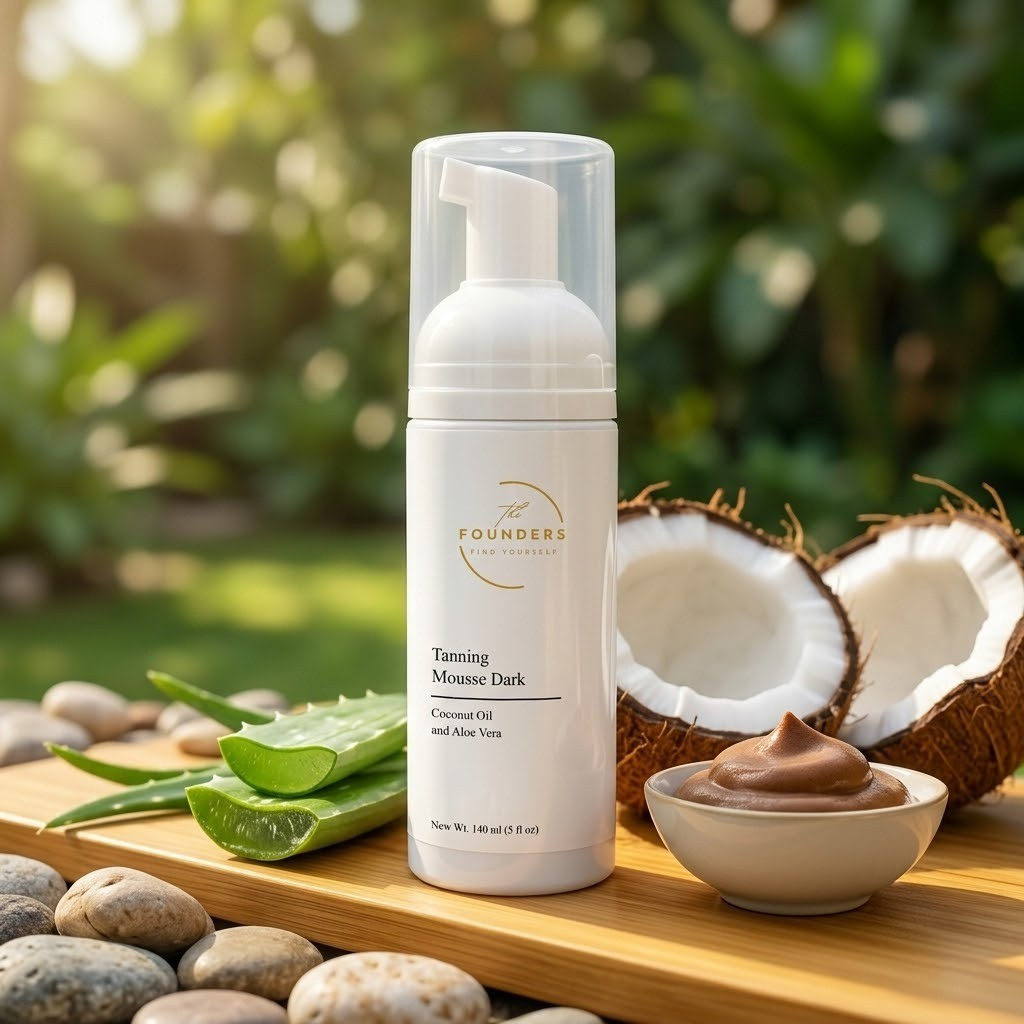
For a lightweight mousse available in Tan and Dark, explore Founders Tanning Mousse™. It develops in 4–8 hours and is designed for easy, controlled application with a tanning mitt.
For external use only. Patch test before use. Avoid contact with eyes. Self-tanning products do not provide sun protection. Use sunscreen separately when exposed to the sun.